Today, I am sharing a layout from September of this year. Week 37 started out with incredibly proud moments and milestones and ended incredibly difficult, uncertain and frightening. Project Life is just that, about life and all of it's highs and lows. There is no better example of that than our family's experience this week.
(Left) Our oldest, George, started preschool this week! He was so incredibly excited and we were equally proud. Mr. Boom and I attended orientation with him on Tuesday morning and then dropped him off on his first solo day Wednesday where (proving he is like me in some ways) he said as we left the car, "Mommy, you can stay here. I can do it all by myself." At home, Jack spent a lot of time playing at our front windows watching contractors remake our building entries and then pave the driveway. Lots of trucks and noise = a toddler dream!
(Right) More school photos, a bit of routine and my klutzy misstep resulting in a badly sprained foot. Then, the devastation. The photo of George and his Pappou is so special and heart wrenching. After having a very successful surgery on Friday afternoon, my father in law suffered a massive stroke in the middle of the night. We are blessed to still have him with us but, he is enduring a long, arduous rehabilitation now.
11.26.2013
11.22.2013
project life: week 39 and citrus twist november kits...
Happy Friday everyone! I am sharing Week 39 in my yearly
album today. It was a week packed with activities, stories, aqua and pink. I
had so much fun playing with the November PL and PL Embellishment kits!
My left page focused on things happening at home: a note about my boys being morning people, my new ironing routine for my oldest son's school uniforms, play time, collecting baby girl clothing and a note about stray socks.
The right side was about what happened outside: visits to a local nature center (aren't the floral and butterfly patterns perfect for these outdoor photos?), my 20 week anatomy scan, family breakfast at a favorite diner and a sweet quote from my oldest about his baby sister-to-be.
I absolutely loved this frame pattern in the Polka Dot Party collection and wanted to maximize its impact by using it for my weekly date card. I simply used my craft knife to cut out the inside of several of the frames and added other snips of patterns from the 6x6 pad and a glassine pocket of sequins to the back. Then, layered the kit washi tape on a few other openings, stamped my dates on a label and tucked that partially inside another frame. The finish was the 39 using the fun, glittery Thickers from the PL Embellishment kit.
The 1/2/3 exclusive wood veneers were a super fun inclusion and I wanted to make them stand out. This week, as I was writing out the conversation between my husband and son I knew the three would be a perfect accent to highlight G's age (journaling card is a printable freebie from my stash). I colored the number with a pink Sharpie pen and then added the coordinating hot pink butterfly paper to the top of the card.
And a few other close ups on favorite cards...
11.14.2013
november citrus twist layout: silly kid...
Good morning! I'm sharing a layout today, using the November Citrus Twist PL and PL Embellishment kits. I snapped this photo of Jack at a nature center last month, as we played
peek-a-boo around a tree. Each time he would catch sight of my camera
he would yell, "Cheese!" What a character. So, using the camera print
was a perfect fit. I had held on to the aqua doily from one of the
summer CTK kits and it was just right for the colors in this collection
and playing off my son's cobalt shirt. I punched one of the chalkboard
sayings from the paper pad to add to the center of the doily.
The "make me smile stamp" is one of my favorites in this month's PL set so, I used that as a border, accented with another chalkboard pattern snippet and a glittery asterisk from the Thickers in the PL Embellishment kit.
And, lastly, a fun title using the Thickers, enamel dots and phrase stickers in the PL Embellishment kit layered over the negative space in my photo and coordinating paper patterns.
The full kits have been revealed for the month so, I'll be back soon to share my PL layouts!
11.02.2013
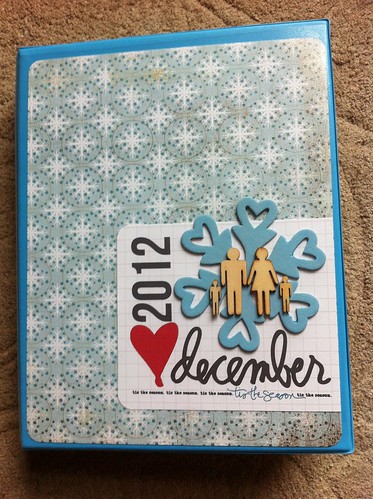
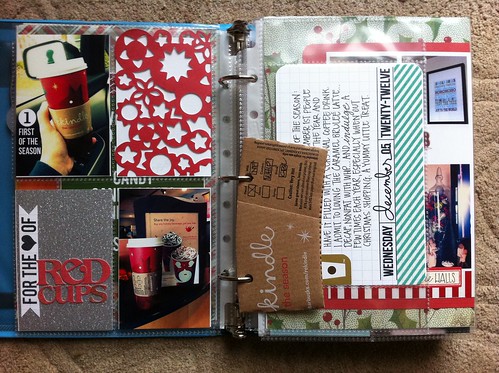
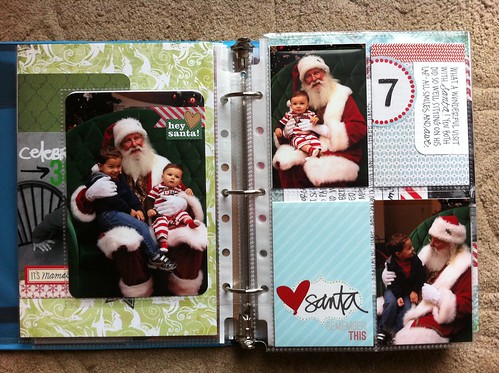
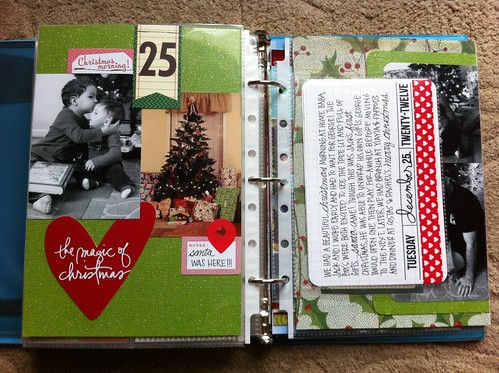
december daily 2012
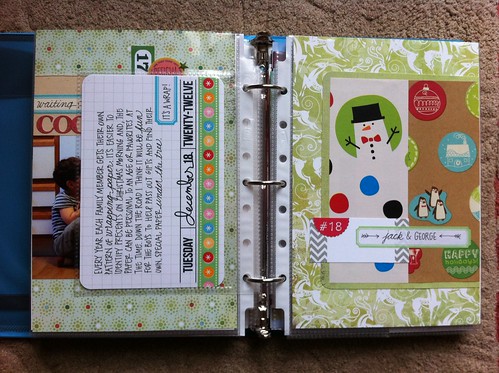
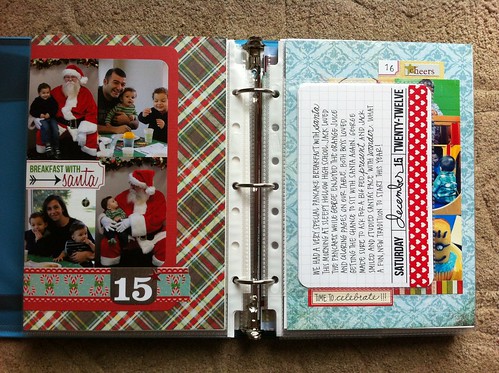
Last year was the first that I decided to take on the December Daily project, though I had admired Ali Edward's albums for years. When I chose to take on the project, I knew I wanted to a) use up as much of my stash as possible and b) keep it simple. I read and read blog posts online, looked at photos of foundation pages by other artists and finally pulled together my own "kit" to get started.
Here's what I used:
Here's what I used:
- Avery mini binder (5.5" x 8.5") and a mix of pages - full size were Avery, 4x6" Staples brand photo pages (I trimmed off the excess plastic) and quad pages by Martha Stewart
- 4x6" cards were a set of overlays by Ali Edwards that I purchased from Designer Digitals. She makes a set each year (here is the LINK for this year's set). I printed them directly onto Becky Higgins 4x6" grid cards using my inkjet printer
- 12x12" Christmas paper pad by Basic Grey that I had on hand for a few years
- assorted washi tapes
- numbers and tags by Elle's Studio
- other assorted holiday papers and embellishments I had in my stash
I'm so looking forward to taking on this project again, this year with the Citrus Twist Kits Christmas Daily PL kit. Unfortunately, this kit flew out of stock super fast but, the Christmas Daily Large Kit is still available in limited quantities (at the time of this blog posting). Here is the PL kit:
I'm still deciding whether to use a Sn@p album or to incorporate the project in my regular PL book but, will share more as I go through the process again!


